Use our online designer studio to create your own personalised flyers, business cards, greeting cards and more.
Order NowWhen it comes to professional printing and advice on your business marketing, we are the team to call! You can call us direct on 04 568 8773 or fill in our quote form.
Request a Quote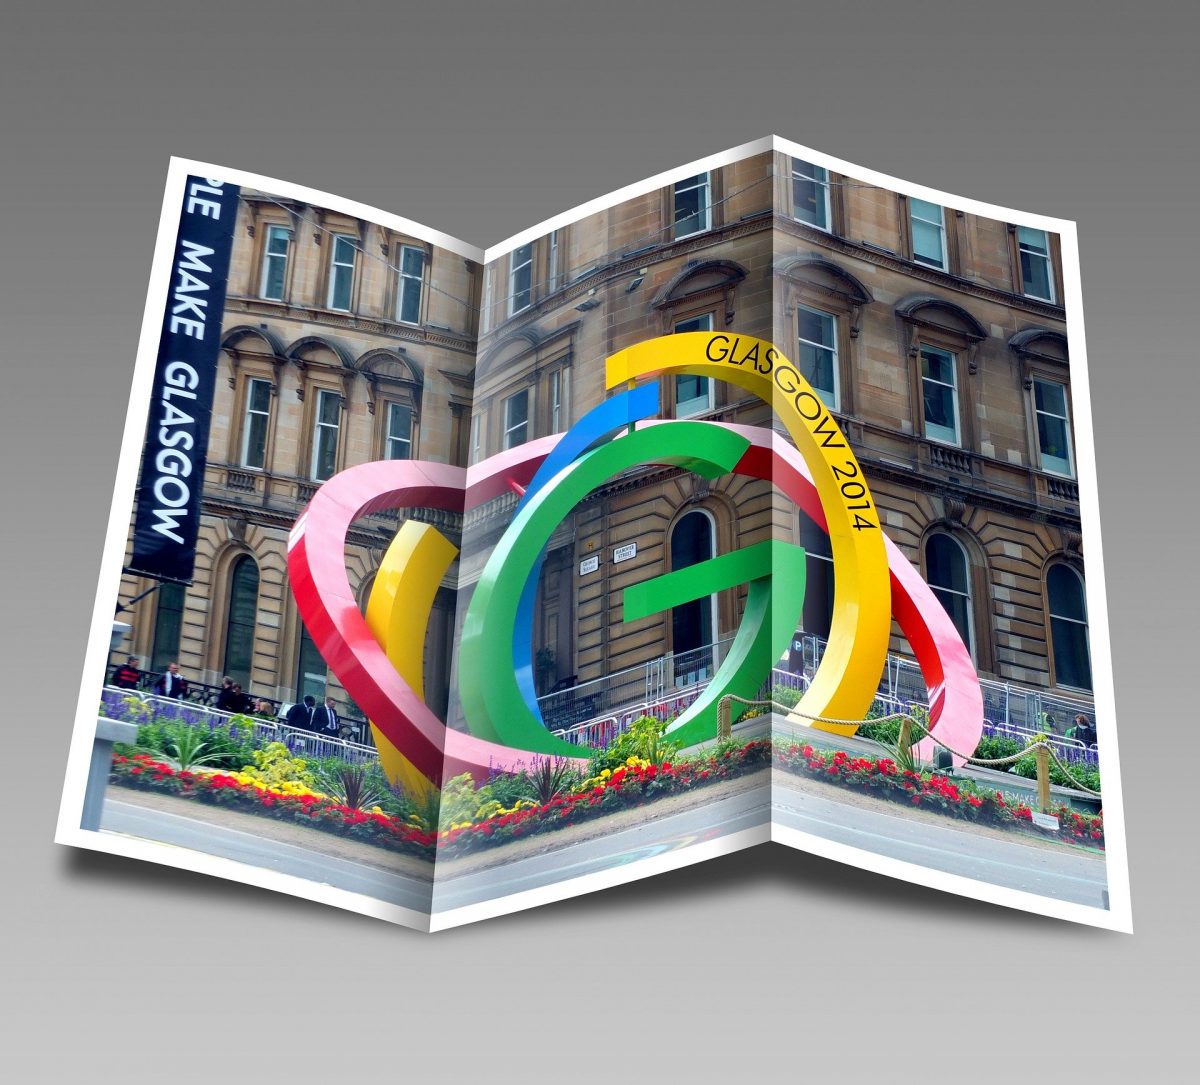
The most common type of folded brochure or flyer we create is the good-old-fashioned tri-fold. An A4 page folded into three sections, usually with one flap being folded between the others (known as a “C-Fold” as opposed to a “Z-Fold” or “Accordian fold”).
Margins
Margins are perhaps one of the least thought about items in the files that we receive. In fact, most people simply stick with the software default – usually 2.54cm (or 1 inch) with no real thought. This is most obvious when it comes to flyers that will be folded – having a wide document margin, but a narrow column margin.
As a rule of thumb, your column margins should be double your document margin at a fold, so that the folded section will have the same margin on all edges. A document margin of 10mm is usually great for folded flyers, and 15 to 20mm for other documents. If you have a 10mm document margin then your column margins should be 20mm (double the document margin) to maintain visual consistency.
Section Width
When making a tri-folded document most people simply take their A4 page and divide it evenly into three sections (99mm each). However, if you want a C-fold then this is likely to cause folding problems, especially on high-speed folders. The flap that goes inside needs to be slightly narrower than the other flaps or it might not fold properly which significantly reduces the visual presentation of your work. We recommend making the inside flap on 97mm – for a total page width of 295mm (A4 is usually 297mm). This allows an extra 2mm for folding crunch but doesn’t make a big difference in the overall document design. Make sure that you set this up in your document properly and watch front-to back alignment (the inside fold is the left panel on the outside face, but the right panel on the inside-face). If changing this is problematic, simply increase the appropriate edge margin by 2mm and we can trim accordingly.
What get’s read?
There are six panels on a C-folded brochure. Here are some pointers on what to put on each panel (“outside” face means the side of the printed page that contains the front section and “inside” face means the section that’s not visible unless you open it all the way out; we’re assuming a standard A4 C-folded brochure here):
 41A Bay St, Petone